How can I boost my user engagement is a question we’ve been getting a lot lately. We have written several articles about it such as using point system and post reactions. In this article, we will show you how to boost user engagement with a Swifty Bar for WordPress.

What is Swifty Bar and How it Boosts User Engagement?
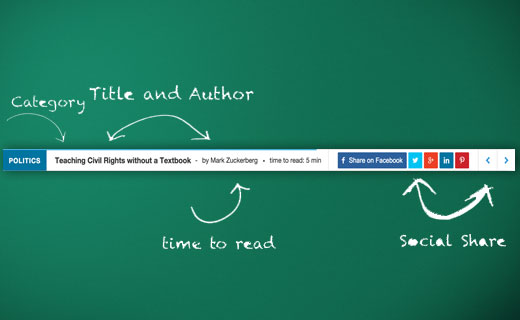
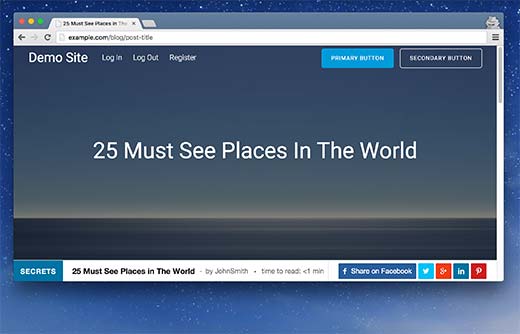
Swifty Bar is a WordPress plugin that adds a sticky footer at the bottom of your posts. This footer bar shows the post category, author, and links to share the post on social media.
It also shows the estimated time to read a post with a progress bar which moves forward as user scrolls down a post.

Most social sharing buttons hide when users scroll down to read an article. Link to comments, author, and categories are also not visible during scrolling of an article.
This is why users leave your page without engaging with the content in any way.
There are plugins that can add sticky floating social bar to the top of your WordPress posts. However Swifty bar takes it to the next level because it also provides category and author information.
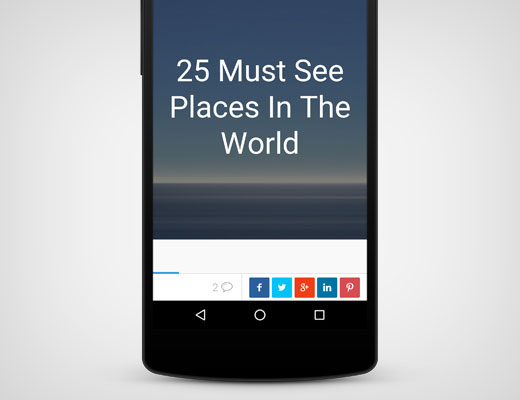
It is fully responsive and looks great on mobile devices.

Setting up Swifty Bar
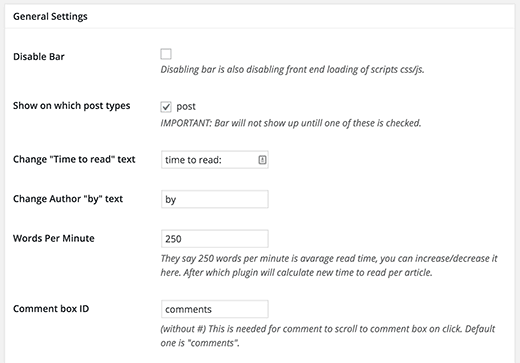
First thing you need to do is install and activate the Swifty Bar plugin. Upon activation, you need to visit Settings » Swifty Bar page to configure the plugin settings.

The first option on the settings page is to disable bar. Make sure that it is unchecked. This option is here only for debugging purposes.
The most important option is to select “Show on which post types”. Make sure that you select posts otherwise the bar will not appear on your site. If you are using other custom post types then those will appear here as well.
Rest of the options are all self-explanatory. The default options would work for most websites, but you can change them if you need.
Swifty bar comes with 7 built in color schemes to choose from. You need to choose a color scheme that compliments your WordPress theme’s color scheme.
You can also disable features of Swifty Bar from the Enable/Disable Swifty Bar Modules section. Simply check the box next to a module, and it will be disabled. This is particularly useful if you don’t want to show a particular social network in your Swift Bar.
Don’t forget to click on the save changes button to store your settings. You can now visit any post on your website to see the Swifty Bar in action.
We hope this article helped you boost user engagement with Swifty Bar for WordPress. You may also want to see our list of 7 must have social media plugins and tools for bloggers.
If you liked this article, then please subscribe to our YouTube Channel for WordPress video tutorials. You can also find us on Twitter and Facebook.
The post How to Boost User Engagement with Swifty Bar for WordPress appeared first on WPBeginner.
Source: http://www.wpbeginner.com/feed/
