
Instagram is an online photo sharing network that enables its users to take pictures and videos, and share them on a variety of social networking platforms. Users can personalize each photo that they upload (for example by adding various effects) and categorize them with a hashtag.
In this tutorial we’ll be building a real-time photo update app. This will allow users to enter a hashtag to which they would like to subscribe. Then, every time a new photo with that hashtag is posted to Instagram, it will be sent to our app which will display it accordingly.
We’ll implement our app in Node.js using Express as the framework. The real-time part will be implemented using Instagram’s Real-time Photo Updates and Socket.io. As ever, the code for this tutorial is available on our Github repo.
How the Real-time Photo Updates Work
[author_more]
Instagram’s Real-time Photo Updates work by sending notifications to your server every time a new photo is posted to the subscription that you selected. Here’s a break down:
- First, your server sends a subscription request to Instagram.
- Instagram receives the request and verifies that you really want to subscribe by sending back a response which your server has to send back.
- Your server receives the data and sends it back to Instagram.
- If the data is the same, Instagram will start sending notifications to your server.
There are four types of subscriptions from which you receive real-time updates : users, tags, locations and geographies. You can read more about each of these in the documentation. In this tutorial, we’re only going to use the tags subscription. This allows you to receive notifications when a new photo is tagged with whichever tags you specify.
Register an App
The first thing that we need to do is to create an Instagram account then register as a developer.
Next, we need to register a new Instagram app. You can put any valid URL for the website and Redirect URL as they are not needed for our app to function properly.
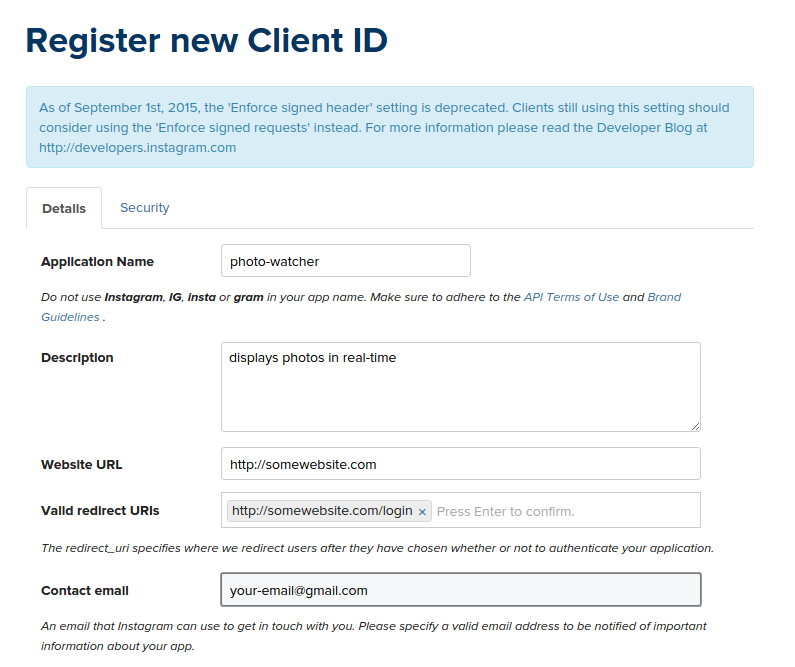
Once the app is created, take note of the CLIENT ID and CLIENT SECRET as they will be needed later when making requests to the Instagram API.
The Server-side setup
The next thing to do is clone the repo and install the dependencies using npm.
git clone [email protected]:sitepoint-editors/express-instagramrealtime.git
cd express-instagramrealtime
npm install
This will pull in the following dependencies:
- Express is the de facto standard web application server framework for Node.js. It is used for serving the public-facing side of the app as well as receiving photo notifications from Instagram.
- Express Handlebars is used for implementing views in Express.js.
- body-parser is used for parsing the form data submitted by the user. In this case, the data is the tag that the user wants to subscribe to.
- instagram-node-lib is a Node.js library for working with the Instagram API. Once we have the tag provided by the user, this library is used to subscribe to the tag.
- socket.io — after subscribing to a specific tag, Instagram sends notifications to the server every time a new photo is posted with the tag that we used. This is where socket.io comes in. It is used for sending the photo data to the front-end every time a new notification is received by the server.
- moment is used for formatting the timestamp provided by the Instagram API.
Now we’re ready to look at the app. In app.js we first need to require the dependencies we installed.
var express = require('express');
var exphbs  = require('express-handlebars');
var moment = require('moment');
var bodyParser = require('body-parser');
var instagram = require('instagram-node-lib');
var app = express();

app.use(bodyParser.json());
app.use(bodyParser.urlencoded({ extended: true }));

// set the file name of the default layout
app.engine('handlebars', exphbs({defaultLayout: 'main'}));

// set the expressJS view engine to handlebars
app.set('view engine', 'handlebars');

// set the path to the front-end assets
app.use(express.static('public'));
Now, that we have required the necessary dependencies, we need to set the Instagram CLIENT ID and CLIENT SECRET. You will replace these values, with the values generated when you registered your app.
var instagram_client_id = 'YOUR-INSTAGRAM-CLIENT-ID';
var instagram_client_secret = 'YOUR-INSTAGRAM-CLIENT-SECRET';

instagram.set('client_id', instagram_client_id);
instagram.set('client_secret', instagram_client_secret);
Once we have our ID and Secret configured, the next thing we are going to do is create a server instance that will run on port 4000. You can check if the server has started running by using console.log to output the host and port.
var server = app.listen(4000, function(){
  var host = server.address().address
  var port = server.address().port

  console.log('Example app listening at http://%s:%s', host, port)
});
Next, have socket.io listen to the Express server. This binds socket.io to the same port as your Express server, so that later on you can use port 4000 when you connect to this socket on the client side.
var io = require('socket.io').listen(server);
Now let’s move on to creating a new route for the home page of the app. All it does is render the home template.
app.get('/', function(req, res){
  res.render('home');
});
Creating the Views
According to the default handlebars configuration, all view files should be stored in the views directory. The file home.handlebars will render the form controls into which the user will enter the hashtag that will be used for the real-time photo updates:
<div id="form-wrapper">
  <div class="form-group">
    <label for="tag" class="control-label">Hashtag</label>
    <input type="text" class="form-control input-lg" id="tag" name="tag" autofocus>
  </div>

  <div class="form-group">
    <button id="start" class="btn btn-lg btn-block btn-primary">Start</button>
  </div>
</div>

<div id="results" class="hidden">
  <div class="row"></div>
</div>
Every time a new photo which has that hashtag is posted by any Instagram user, it will be immediately displayed by the app inside the div with the id of results.
Earlier on the app.js file, we set the file name for the default layout with the following code:
app.engine('handlebars', exphbs({defaultLayout: 'main'}));
In handlebars, layout files are stored in the views/layouts. In this directory the file main.handlebars serves as the main layout. The main content is rendered inside the div with the id of wrapper:
<!DOCTYPE html>
<html>
  <head>
    <meta charset="utf-8">
    <title>Real-time Photo Updates</title>

    <link rel="stylesheet" href="/css/bootstrap.min.css">
    <link rel="stylesheet" href="/css/style.css">
  </head>
  <body>
    <div id="wrapper">
    {{{body}}}
    </div>
    <script src="https//instagram.com/js/jquery.min.js"></script>
    <script src="https//instagram.com/js/jquery.backstretch.min.js"></script>
    <script src="https//instagram.com/js/jquery.imagepreload.min.js"></script>
    <script src="https//instagram.com/js/vague.min.js"></script>
    <script src="https//instagram.com/js/socket.io.min.js"></script>
    <script src="https//instagram.com/js/handlebars.min.js"></script>
    <script src="https//instagram.com/js/moment.min.js"></script>
    <script src="https//instagram.com/js/livestamp.min.js"></script>
    <script src="https//instagram.com/js/script.js"></script>
  </body>
</html>
As you can see, a few front-end dependencies are required. Here’s a brief description of each:
- Bootstrap is a front-end framework. This is my personal choice for almost every web thing that I build. If you also want to use Bootstrap, you can find free themes at bootswatch.com.
- jQuery is used for manipulating HTML and listening for click events on the page. It’s also the dependency of the 3 libraries below.
- jQuery BackStretch is used for making the current photo into a full page background image.
- The jQuery Image Preload plugin is used for preloading the image before showing it to the user.
- Livestamp helps keep the timeago text current when no new photo is received from the server side for too long.
- Vague.js applies a blur filter to the background image.
- handlebars is used for generating the HTML to be used for displaying photos.
- moment is used for displaying timeago text based on the timestamp.
These dependencies can be found in public/js and public/css. This is because we specified that this folder (public) should contain our front-end assets:
app.use(express.static('public'));
You could also use bower to download and manage these assets. If you so chose, be sure to update the .bowerrc file so that it uses the static directory that you specified.
With that out of the way, we’re now ready to create the script.js file.
Continue reading %Build a Real-Time Photo Update App with the Instagram API%
Source: SitePoint