
While we can use vector graphics like lines and shapes in Pebble watchfaces, sometimes images are needed to provide a greater level of detail. Images can provide a nice backdrop that doesn’t take hours of precise coding and are pretty easy to update. In this article, we’ll look at a few simple ways to prepare images and include them into Pebble apps that work across all platforms – the classic Pebble, the Pebble Time and Pebble Time Round watches. In particular, we’ll make a background image that spans the width and height of the watchface.
What You’ll Need
In order to step through this guide, you’ll need the following:
[author_more]
- CloudPebble – You’ll need to log in here and test your changes on Pebble Time Round if you are building for all three platforms.
- A general knowledge in Pebble app development – If you are new to Pebble development, have a read of my beginner tutorial on Pebble Watch Development with JavaScript to get started.
- An image of at least 180×180 – you’ll need to crop it nicely to 180×180 and 144×168.
- Photoshop – This will be needed to set up the images in the right palette for the Pebble Time Round. However, if you aren’t too concerned about the Pebble Time Round, you can get away with using a few other techniques to prepare your images that I’ll cover here. (You can also use GIMP or ImageMagick, however I won’t cover those in this article.)
The Code
All the code for this is available on GitHub. This is code which I’ve cleaned up from a watchface I’d built for geek musician, Meri Amber (available to install on your watch here). I’ve removed all the time keeping and other components to focus in on how the image switching works.
Preparing Our Images
In this age of multiple Pebble device types, there are a variety of platforms we are looking to support. When it comes to our images, we care about three potential device types:
- Classic Pebble and Pebble Steel watches with rectangular black and white displays – this image size should be
144 x 168. - Pebble Time watches with rectangular color displays – this image size should be
144 x 168. - Pebble Time Round watches with circular color displays – this image size should be
180 x 180.
Preparing Images For Aplite
Aplite images are black and white only, so in order to display them we need to convert images in a way which still keeps them looking recognisable from their original, despite a serious lack of color.
Online Image Converter
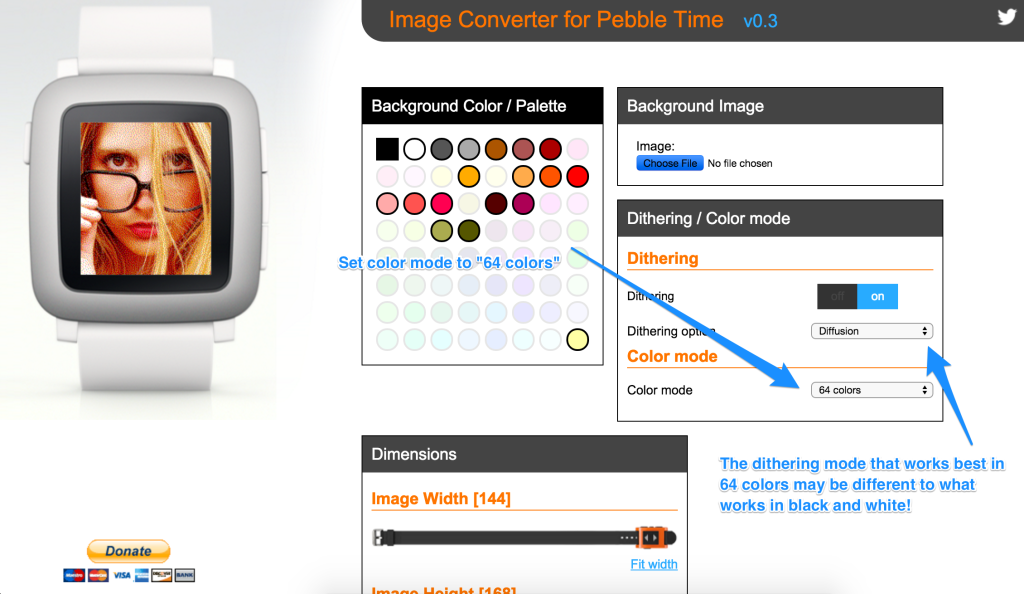
One method which is quite quick and simple is to use this online image converter. It works for both Aplite and Basalt images.
To start with, upload your file. Then for Aplite, choose the color mode of “black and white” to remove all color from the image. This may be all you need to get a good result, however some images work better with different dithering options. Try changing the dithering option to see what works best for your image – this may be different for each style of image you use!
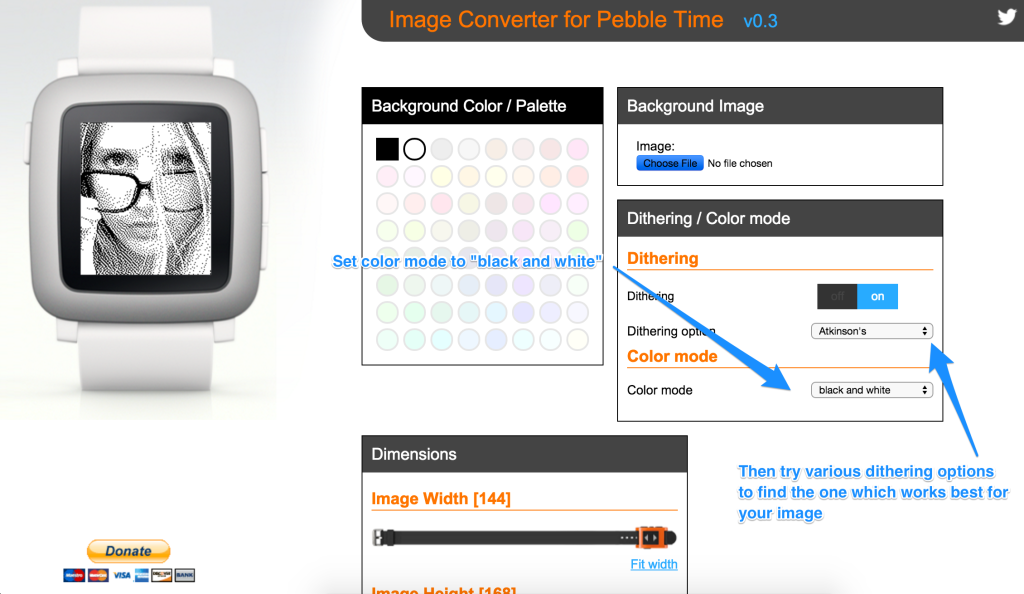
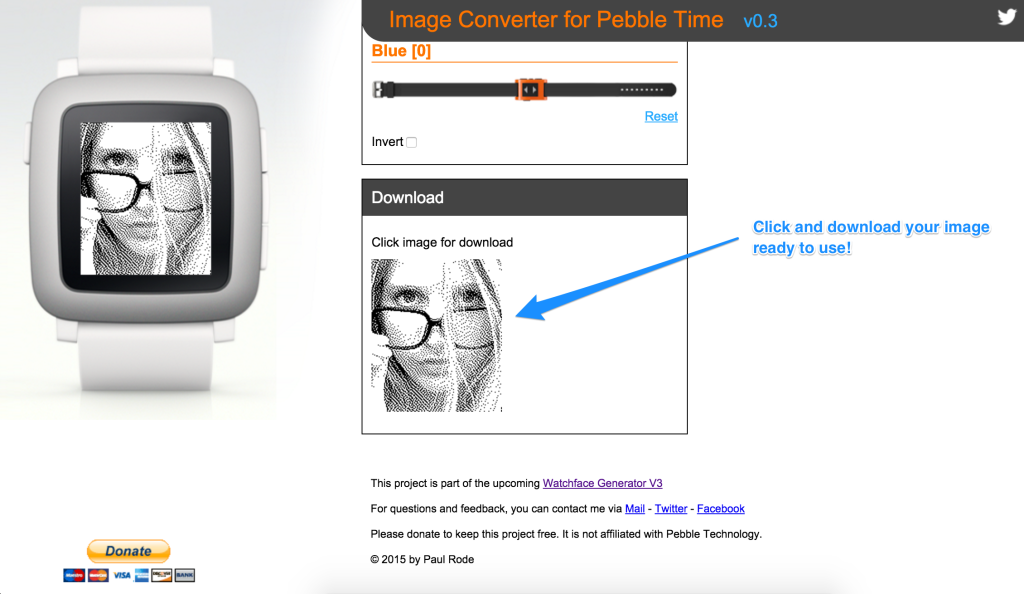
You can scroll down and change brightness, contrast and more. Once you are happy with how your image looks, click the image at the bottom of the page to download it to your computer ready to use.
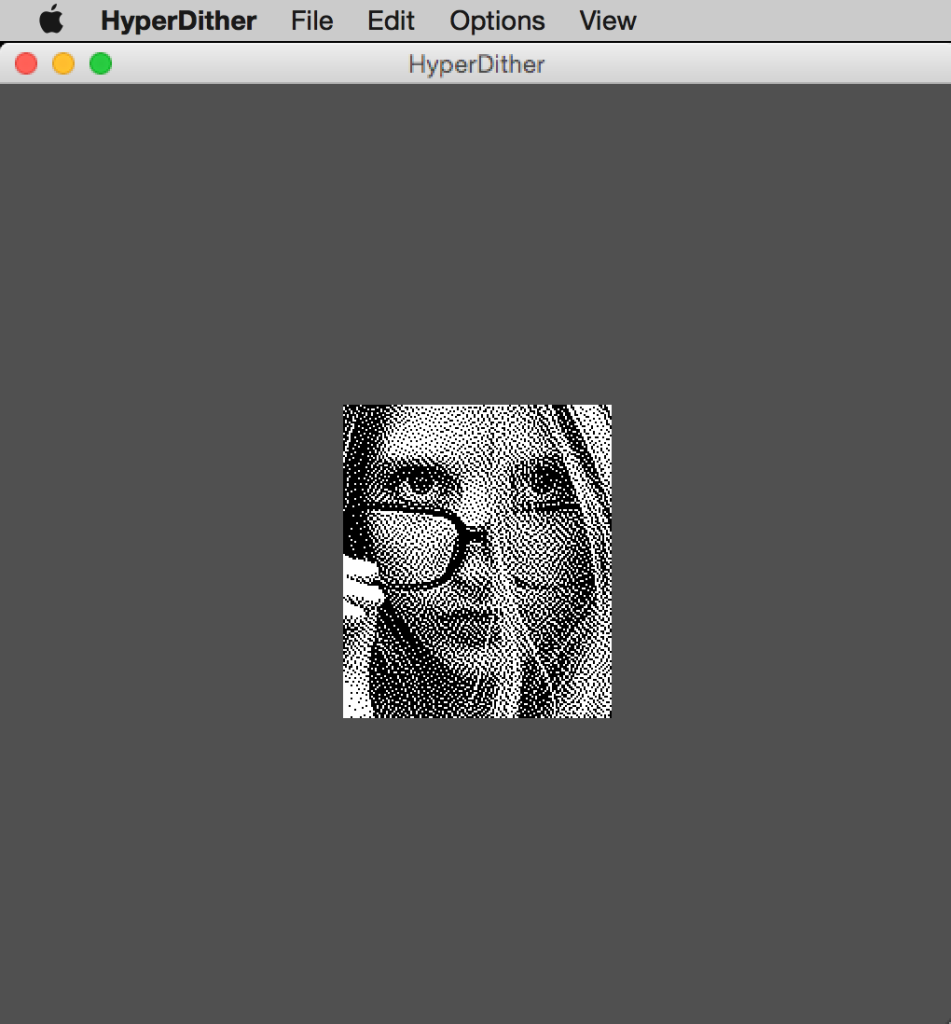
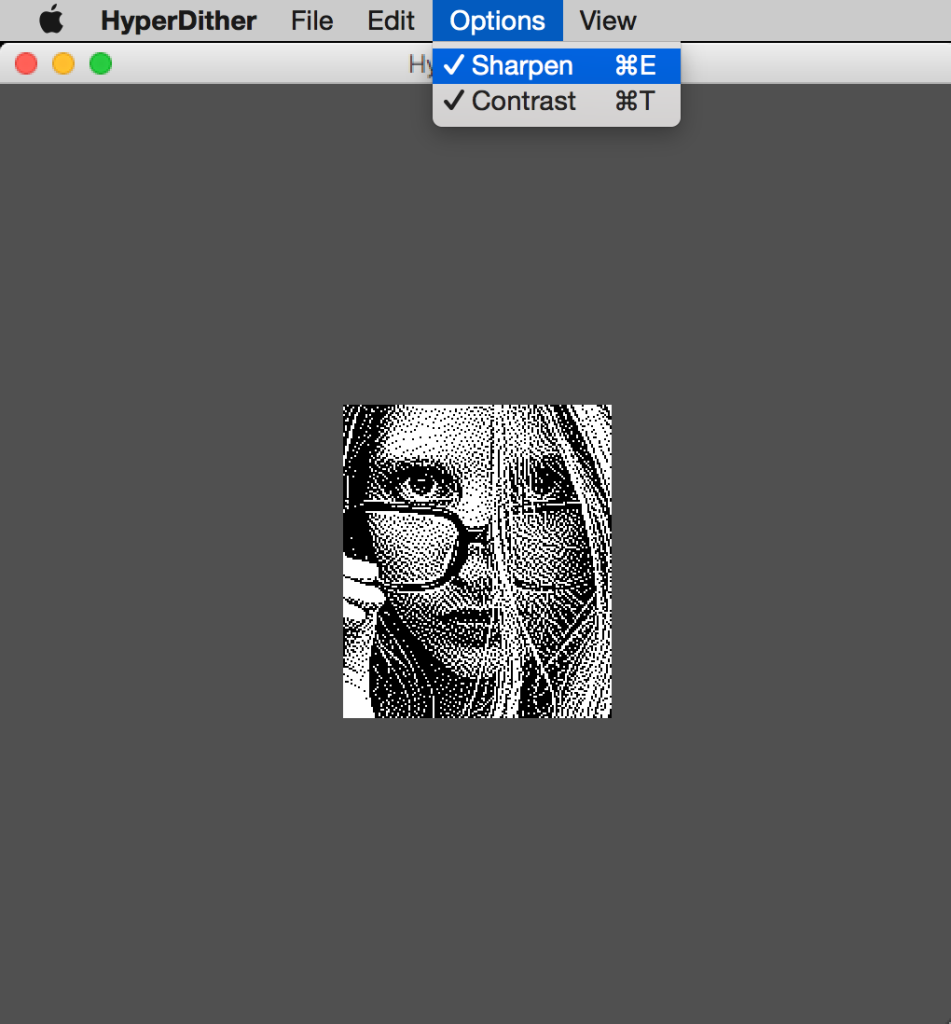
HyperDither
Another option for Mac OSX users is a free application called HyperDither. It can turn color images into monochrome ones quite effectively. Upon opening it up, it will await an image from you:

Drag an image into the app:
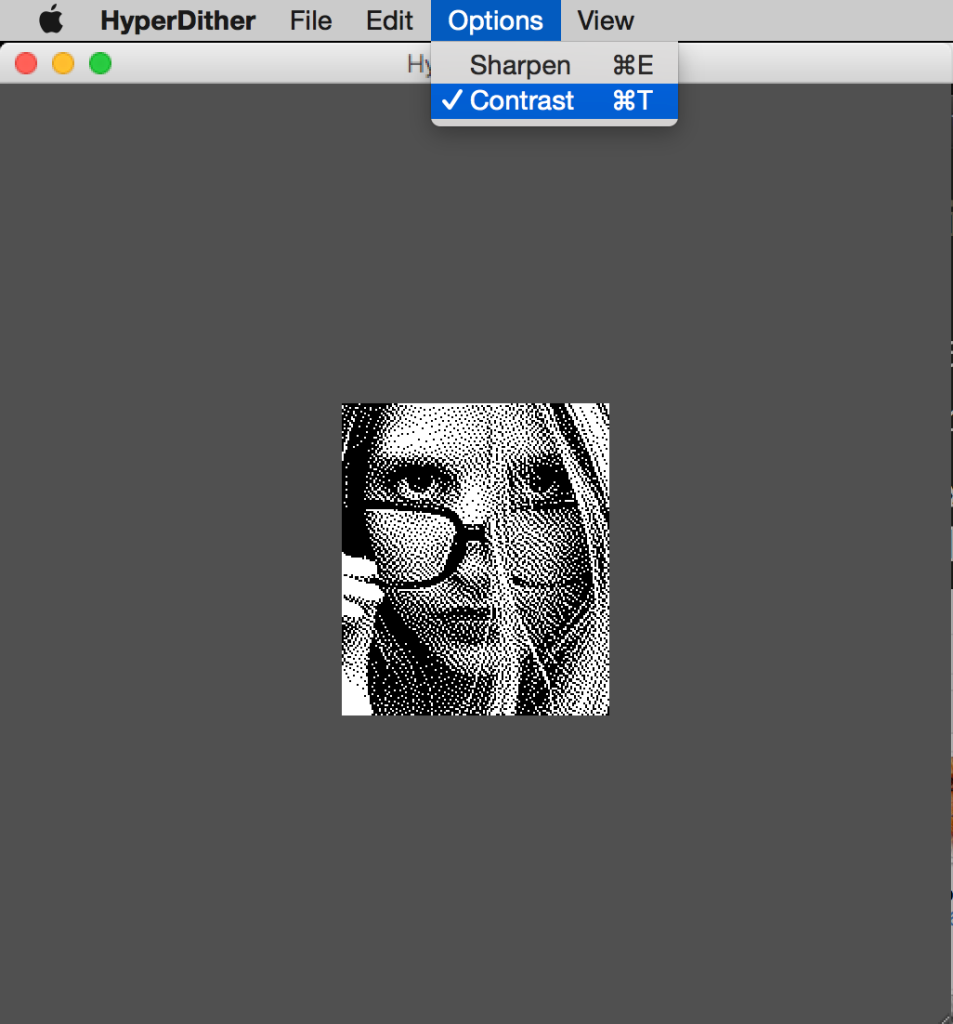
Then you can adjust settings, such as “contrast” that looks like so:
Or sharpening it too:
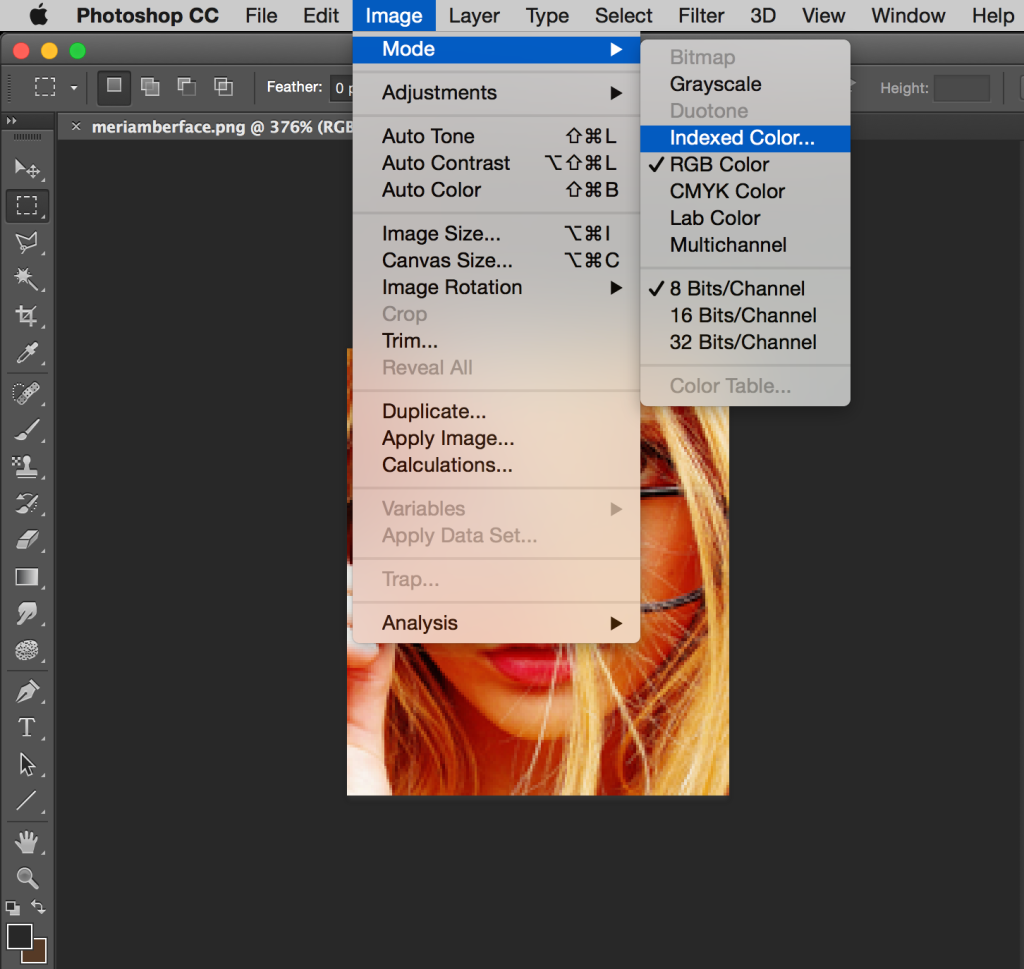
Photoshop
If you are a Photoshop owner, you can also do this in Photoshop. It’s likely there are plenty of techniques out there for this, but the basics of it are:
Go to Image > Mode > Indexed Color….
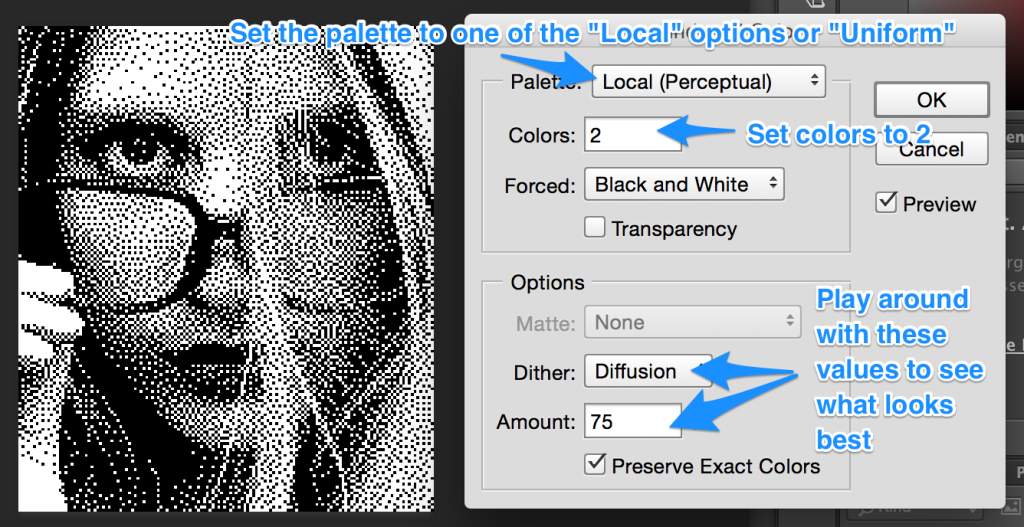
Choose either one of the “Local” options or the “Uniform” option for your palette, set the number of colors to 2 and play around with the diffusion options to see what works the best for your image:
Preparing Images For Basalt and Chalk
Basalt and Chalk allow for 64 specific colors. HyperDither won’t work as it only does black and white dithering. So we are left with the other two options.
Online Image Converter
This one only works for Basalt at the moment as it doesn’t appear to be able to export square images yet.
Head back over to online image converter and put in your image. This time, choose “64 colors” for your color mode and then play around with the dithering options and so on again.
Photoshop
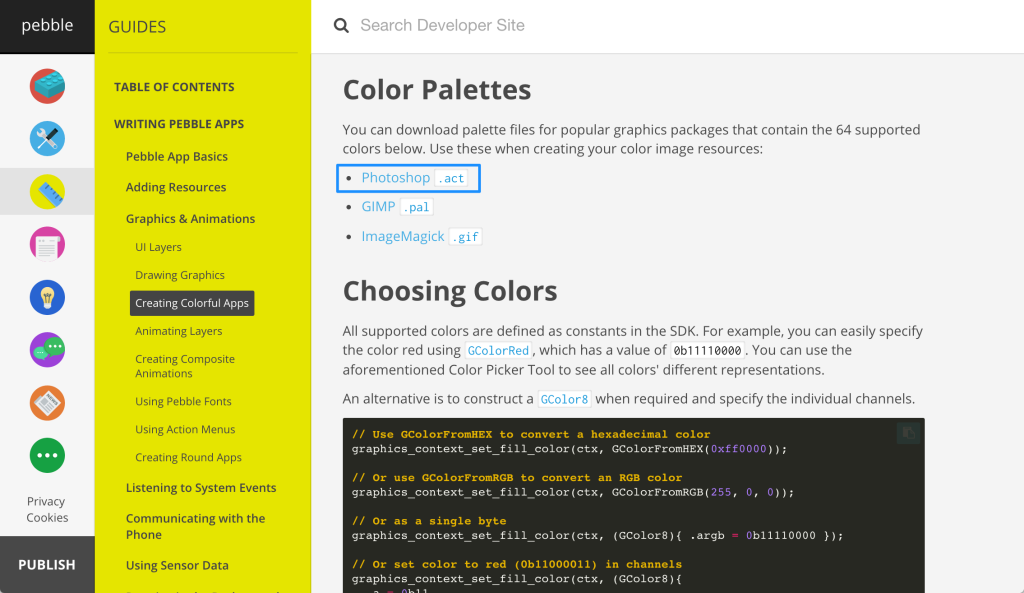
Photoshop will need to know the specific 64 colors that you’d like to use in your image. To download these, go to the Color Palettes section of Pebble’s “Creating Colorful Apps” page and download the Photoshop .act file:
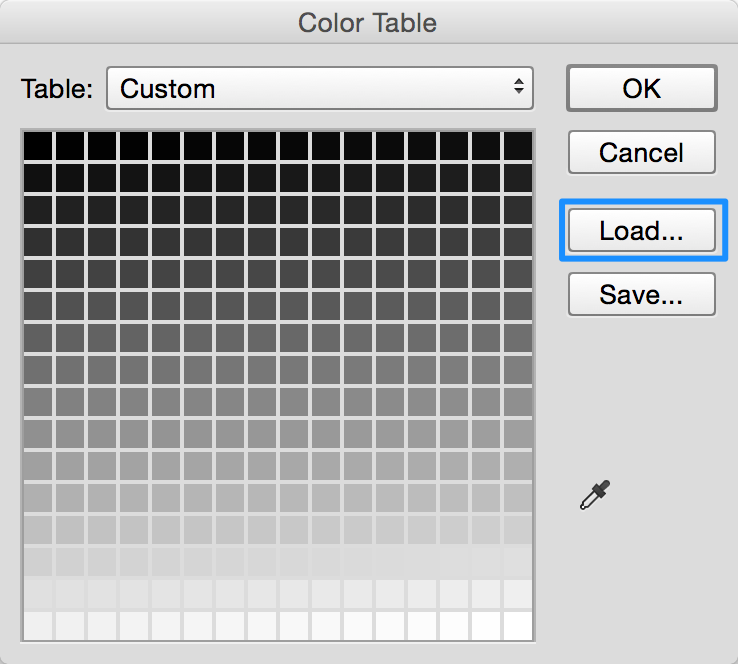
Then, go back to Image > Mode > Indexed Color… but choose “Custom” from the palette. It will appear asking for a “color table”, click “Load” on this screen and find your .act file:
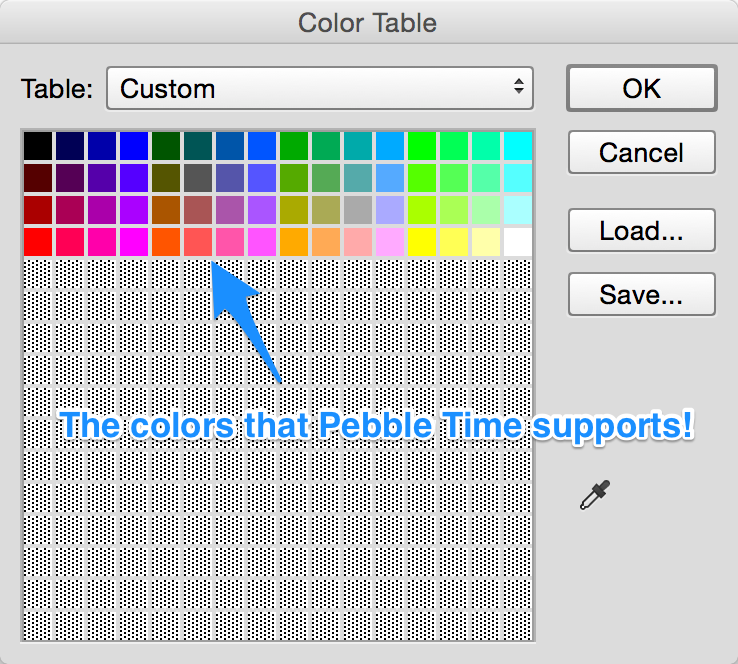
The 64 color palette should look like so:
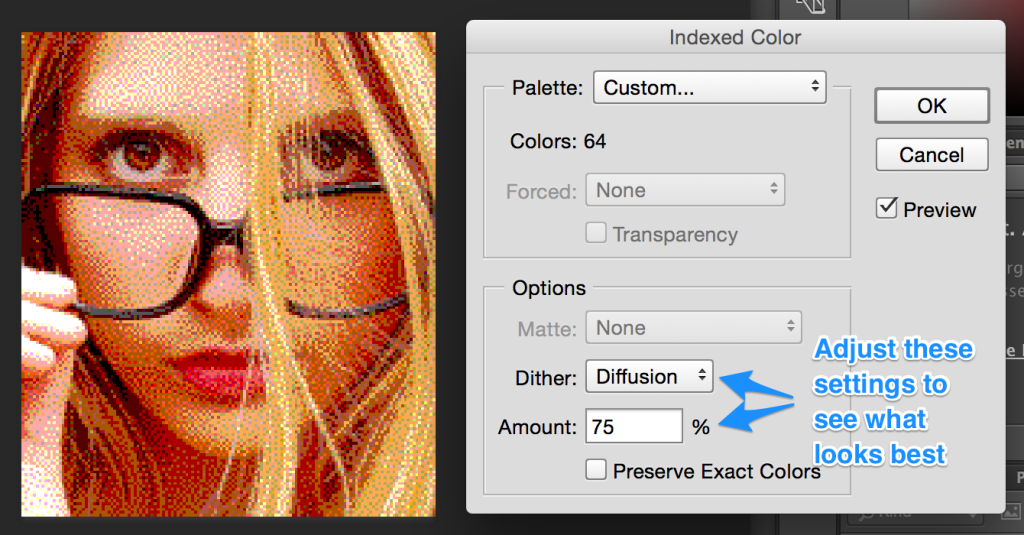
Click “OK” and then you’ll be back to the screen where you can adjust settings:
You should now have the abiity to set all three types of images for our platforms. It is time to work out how to put these into our app.
Detecting Platforms
Every version of our background image will be positioned dynamically in the center of the watchface and will fit the size of the watchface, so we don’t need to do any platform detection for those purposes. We won’t even need to mention in the code that the image will change on different devices, that will be taken care of in our image resource. Overall, we keep as much of the image switching functionality out of our code – this ensures our app is maintainable and easily compatible with future Pebble platforms too.
You may be tempted, as I was initially, to switch images via #if defined(PBL_BW) and #elif defined(PBL_COLOR) style statements. Don’t do that! It is much better to use platform specific resources which you can set up when uploading your images in CloudPebble.
Uploading Your Images In CloudPebble
If you are new to using images in your Pebble apps, the “Resources” section of CloudPebble may have been a bit of a mystery until now. That is where we’ll go to add our image. To start, click the “Add New” button next to “Resources”:

Continue reading %How to Add Images into Your Pebble Watchfaces%
Source: SitePoint