
Though I often talk about both Sketch App and Photoshop, my slight crush on Sketch means I tend to spend more time with it.
However, the fact remains that I need to use both sometimes. One such example is when I’m designing for screens in Sketch App, but I want to mockup the screen as if it were being viewed on an actual device, and for that I need Photoshop’s “Smart Object” functionality. But why go through the effort?
Sometimes the visual aesthetic of a design doesn't really come to life until you take it off the flat canvas and show it off from a 3D perspective; in other words, how you might see it, realistically, with the naked eye.
Not only that, but it helps the mockup fit into a horizontal frame (for sharing on Behance and Dribbble) and many clients simply love how it looks.
Perspective mockups are very trendy, there’s no argument about it!

MagicMirror Plugin
MagicMirror Plugin works like a Photoshop Action for Sketch, and there’s a terrific free version available. You design your screen in an artboard as normal, and a keyboard shortcut creates a sort-of smart object mockup of your screen.
Let's take it for a spin!
Getting Started
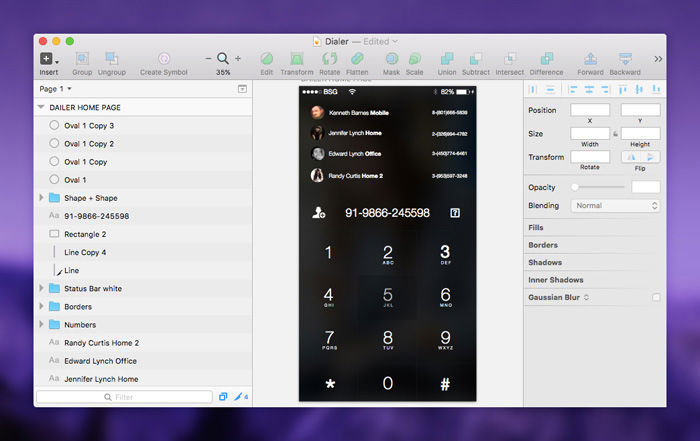
You can either use a screen that you’ve already designed or download a .sketch freebie, such as this epic Dark Dialer interface by Bootstrap Guru.
[author_more]
Atomic: A Faster Way To Design Beautiful Interactions?
Photoshop vs. Sketch: The Battle for the Cleanest HTML/CSS
The 10 Best Productivity Plugins for Sketch App
[/author_more]
Before you open it though, download the MagicMirror Plugin and try to open the .sketchplugin file that comes with it. Just like with Photoshop Actions, this will automatically install it.
Now you can open your .sketch design!
Creating the Makeshift “Smart Object”
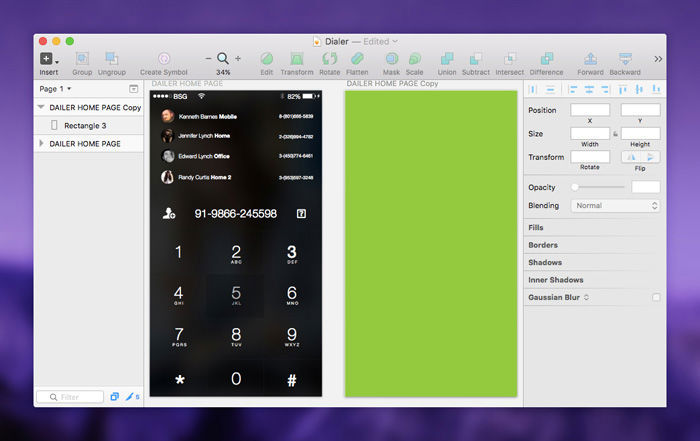
It’s not really a smart object, but it is smart. Press “A” to open the Artboard dialog in the inspector or simply Duplicate (command+d) the "source" artboard and remove its contents.
What we want to achieve here is two artboards of the same width and height, but one of them should be empty to ensure that our smart object retains the same aspect ratio as the design.
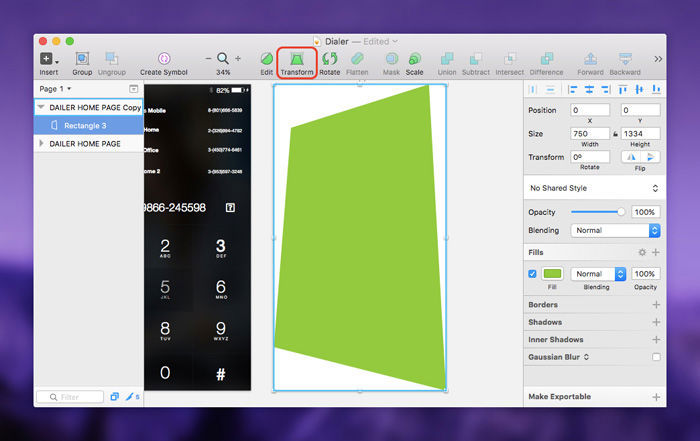
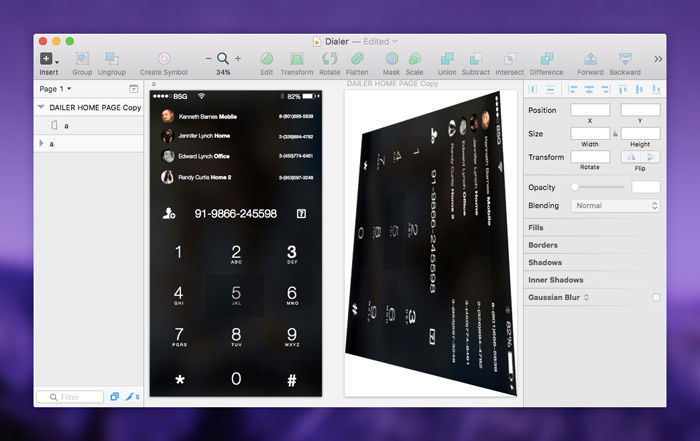
Press “R” to create a Rectangle and draw it out so that it fills up all of the whitespace in the new, empty artboard, then turn your eyes to the menu bar and hit the “Transform” tool.
It’s vital that we use Transform and not “Edit”; Edit will create an irregular shape whereas Transform will make sure that our shape retains the correct aspect ratio of our design.
Move the corners of the shape until you have the angle that you want. Perspective is assured if you’re using Transform.
It might be useful to save your favourite mockup shots in a single .sketch file so that you can use them as templates later on, or you download some of the mockups from the site: here’s a brilliant one.
Setting Up the Design to be Mirrored
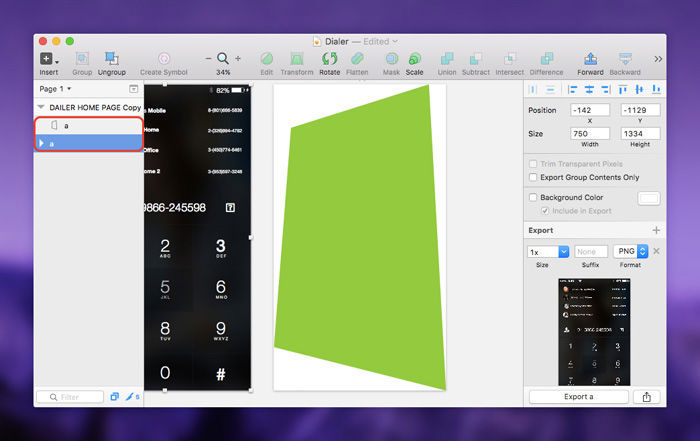
We now need to connect our shape to the design so that they can be mirrored, but that’s really easy. Just make sure that the shape layer is renamed to match the artboard.
Learning the Keyboard Shortcuts that Make It Happen
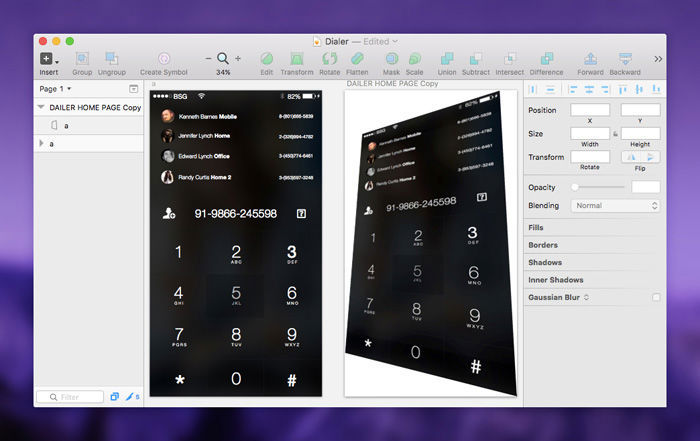
Press control+shift+m to start the mirroring (this works across “Pages” as well, like Shared Styles and Symbols). You might end up with something like this (below), but there are other keyboard shortcuts that we can utilise to achieve our aims.
In our dilemma, we'll need to select the rectangle shape and use command+control+shift+r (I know, that's a crazy shortcut!) to rotate our design inside the shape; MagicMirror actually uses the “Fill” style to create a background image, but how they rotate it, I have no idea. It must be magic!
Here're two other keyboard shortcuts to remember:
Continue reading %Creating a Perspective Mockup in Sketch with MagicMirror%
Source: SitePoint